Showing posts with label stitching. Show all posts

04 November 2015

WIP Wednesday - Flower Lady Progress (Part 1)

Well, I have made some progress on my "flower lady".

I am starting to add some leaves around the flowers today.


By next Wednesday, I am hoping to have a lot more to show you!


11 August 2014

Beetle Stitching

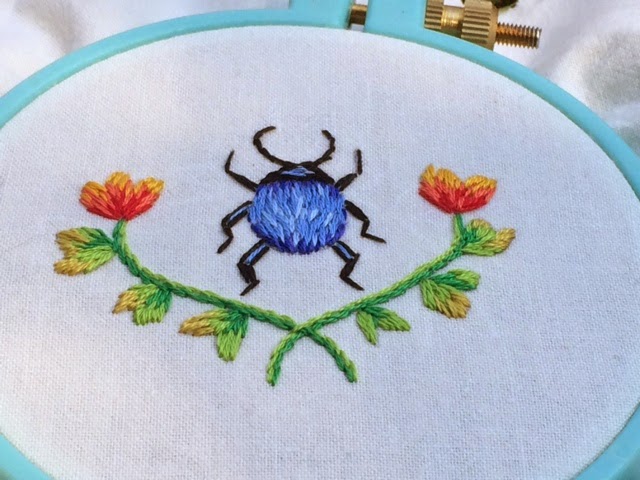
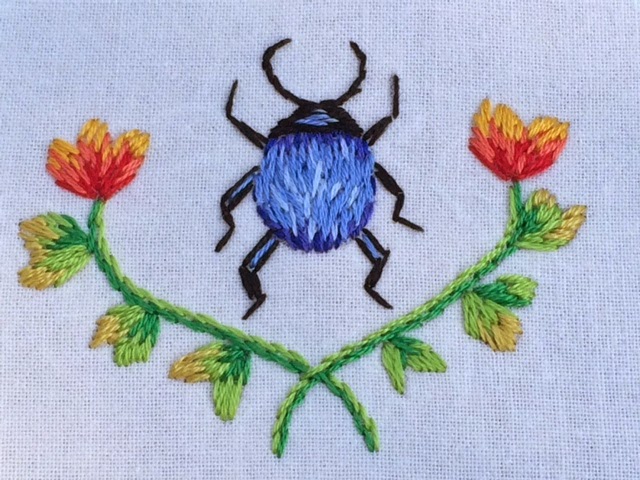
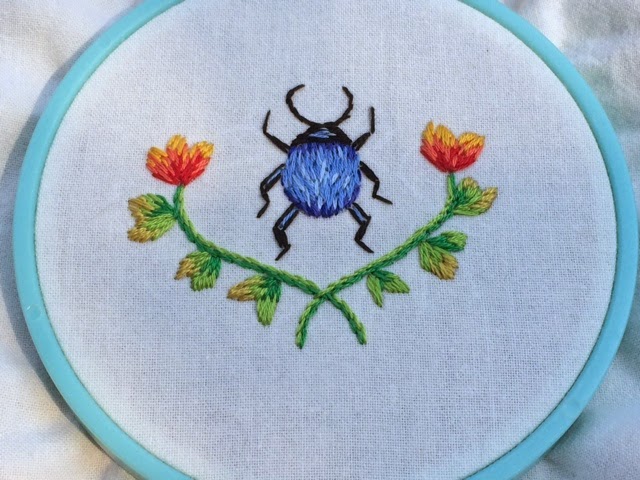
Finally finished stitching this beetle.

beetle embroidery

This pattern was an extra pattern we received from the Furry Nice Embroidery Class that Nicole from Follow the White Bunny offers.

beetle embroidery

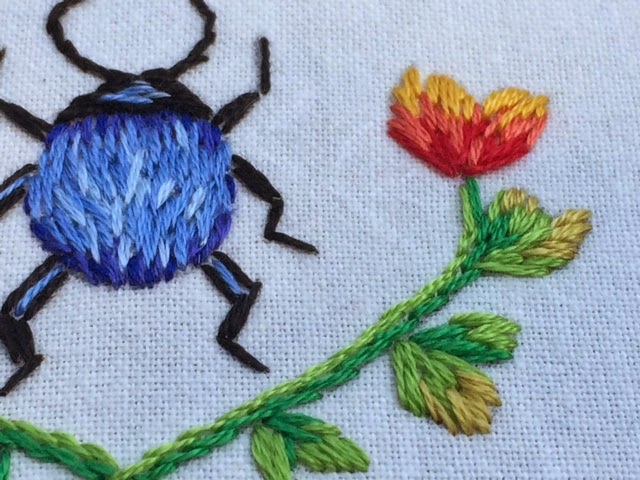
I decided to stitch it with 2 strands of floss - instead of the one strand of floss we used in the class.

beetle embroidery


beetle embroidery

It is a small little pattern so it stitched up faily quick. I am starting to really like stitching smaller sized projects now.


30 July 2014

Little Tree Drawing Mini Embroidery

My nine year old niece drew me a cute little tree and I wanted to embroider it.

I thought it would be fun to take her drawing, stitch it, frame it, and give it to her as a little gift.

Here is a photo of the original drawing.


Here it is transferred onto the fabric ready to stitch.


I used all stem stitch, since it's my favorite.


A long time ago I bought these little canvases with frames at a craft store which I thought would be perfect to finish the tree.


I stapled the fabric to the canvas (which I have written about previously here – it is my favorite way to finish my embroidery now).


Staple around all edges - pulling the fabric tight around the canvas.


Staple the corners - similiar to wrapping a present and staple.


All stapled!


Here it is all finished inside the frame and ready to send in the mail!


28 June 2014

Miscellaneous

Just a random post of miscellaneous things to share today.

Back when I was working on my Furry Nice Polar Bear, I took this photo of my work area just for fun. I thought it was funny the amount of floss everywhere. The polar bear is even making a cameo!

This is my embroidery chair. I actually bought it specifically to sit on for when I embroider - back in 2010 or so. It has been my trusty chair - it even moved across the US from Minnesota to Seattle because I didn't want to part with it.


I snapped the picture below because they were my color choices for the Furry Nice polar bear and I liked how they all looked together. :)


I have two projects I want to start this week. One is a beetle pattern that was included from the Furry Nice Embroidery class and one that is a birthday gift for my niece. I will post more on both when I get my colors chosen. 

Later!


16 June 2014

Furry Nice Embroidery Class Review

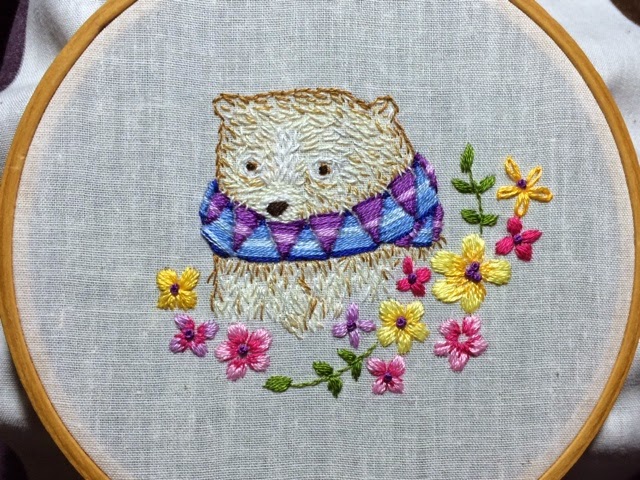
Back in April, I began the Furry Nice Embroidery class offered by Nicole at Follow the White Bunny and it was awesome!

I am so glad I did it. It really took me out of my comfort zone with my embroidery - which is exactly what I was hoping it would do. 

First of all, the class was worth every penny. Nicole did an excellent job with her tutorials and weekly lessons. We had a private Flickr group to post photos and ask questions - which Nicole was quick to answer those questions and offer advice to us students.

I loved the structure of the class also. There was a private blog just for the class where each week for 7 weeks a new lesson was posted to download and work at our own pace. The lessons were very detailed and easy to understand. 

The class taught us how to create depth in our embroidery and how to do basic shading - which I have always wanted to learn. I have been a follower of Nicole's blog for some time now and love her stitching techniques. When I found out that she was offering a class to share some of her tips and tricks - I knew I should not pass up the chance to learn! :)

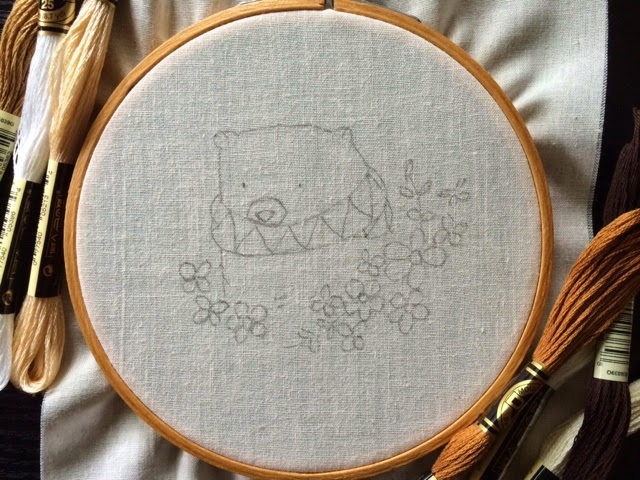
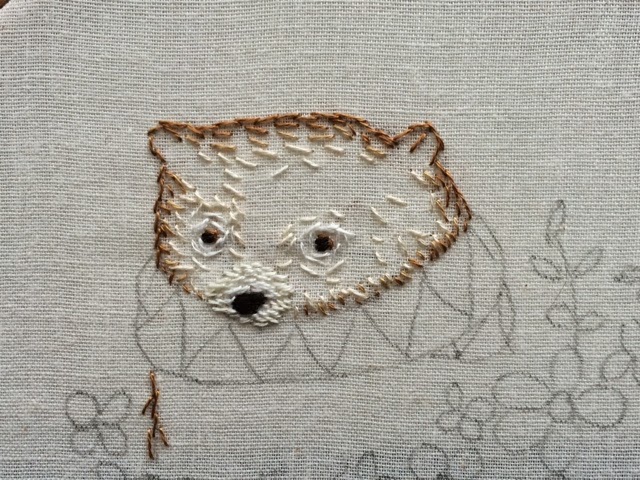
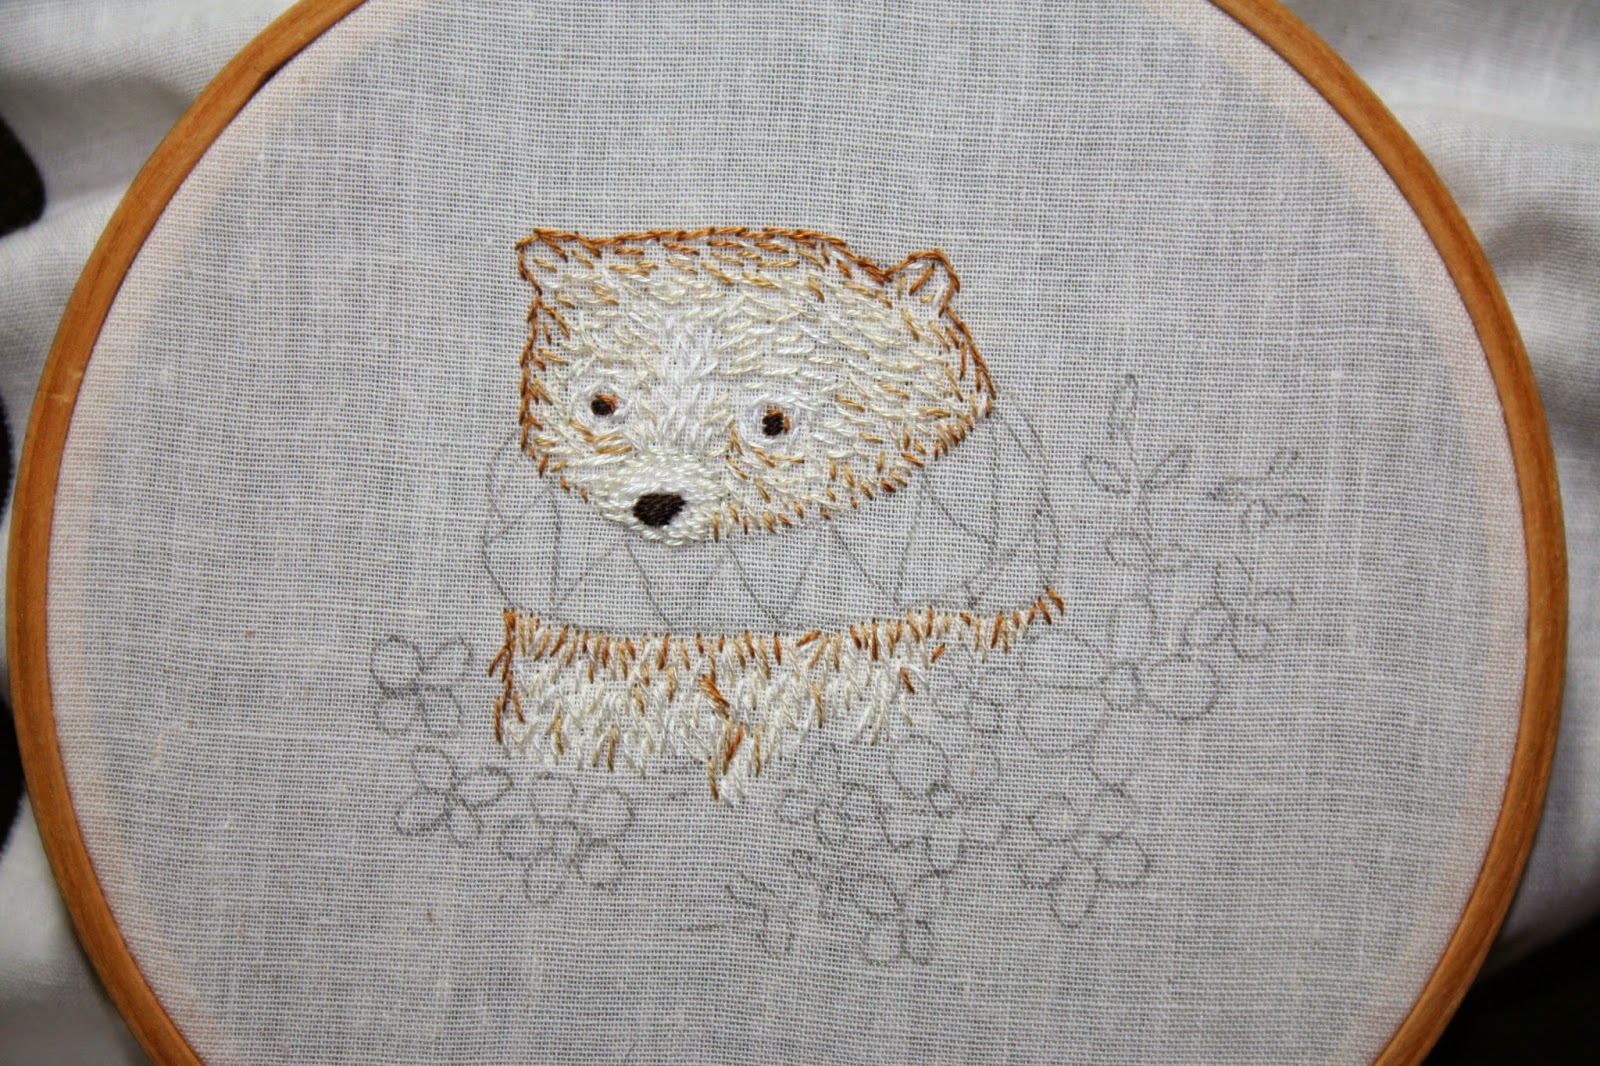
Here are some progress photos of my polar bear project from the class - along with a few things I learned.

* Use a standard pencil to trace your pattern!

Ok - this may not be a huge deal to a lot of stitchers out there - but I have been doing embroidery now   for over 8 years and never once thought to use a pencil to trace my pattern onto the fabric. I've used heat transfer pens and pencils, transfer paper, disappearing ink pens, water soluable pens - but never once used a basic pencil. It worked perfect. 


*Use one strand of floss to stitch 

This took me way out my comfort zone. I have never used only one strand of floss to stitch before. Two strands but never just one. I first had trouble with needle size. The holes were too big in my fabric (which is another story - I would choose a different fabric if I were to stitch this bear again). I ended up using a size 10 needle and that seemed to work the best. 


*Furry Stitching! Learning the use of colors for shading.

Here the fur is complete.


Finished the scarf. This was done in satin stitch.


My favorite thing I learned was to use the satin stitch for the flowers. I love how they look. No more only using lazy daisy stitches for my flowers. (Although I did do just one flower with the lazy daisy stitch... just because..)


All done! Up close.


Finished! 


I would definitely recommend this class to anyone who is looking to add a new skill to their embroidery. For more information on the class check it out here! Sign up for the newsletter so you will know when the next class becomes available!


31 May 2014

Something Old: Fairy Tea Towel

Embroidery flashback to 2009.

I stitched this fairy on a tea towel for a birthday gift for my friend.

I've always liked how it turned out.

The fairy pattern is from the Sublime Stitching Craft Pad and I think the tea towel was also from Sublime Stitching.


tea towel embroidery


10 March 2014

The Bestiary Swap

I finally stitched something that wasn't for the TAST challenge. I decided to join the latest swap that normally happens in the Phat Quarter Flickr embroidery group but has now moved to the Weave site.

(Have you heard about the new social network site for stitchers - Weave - created by the awesome Mr. Xstitch? Well, if you haven't go check it out!)

This swap was all about "The Bestiary". 

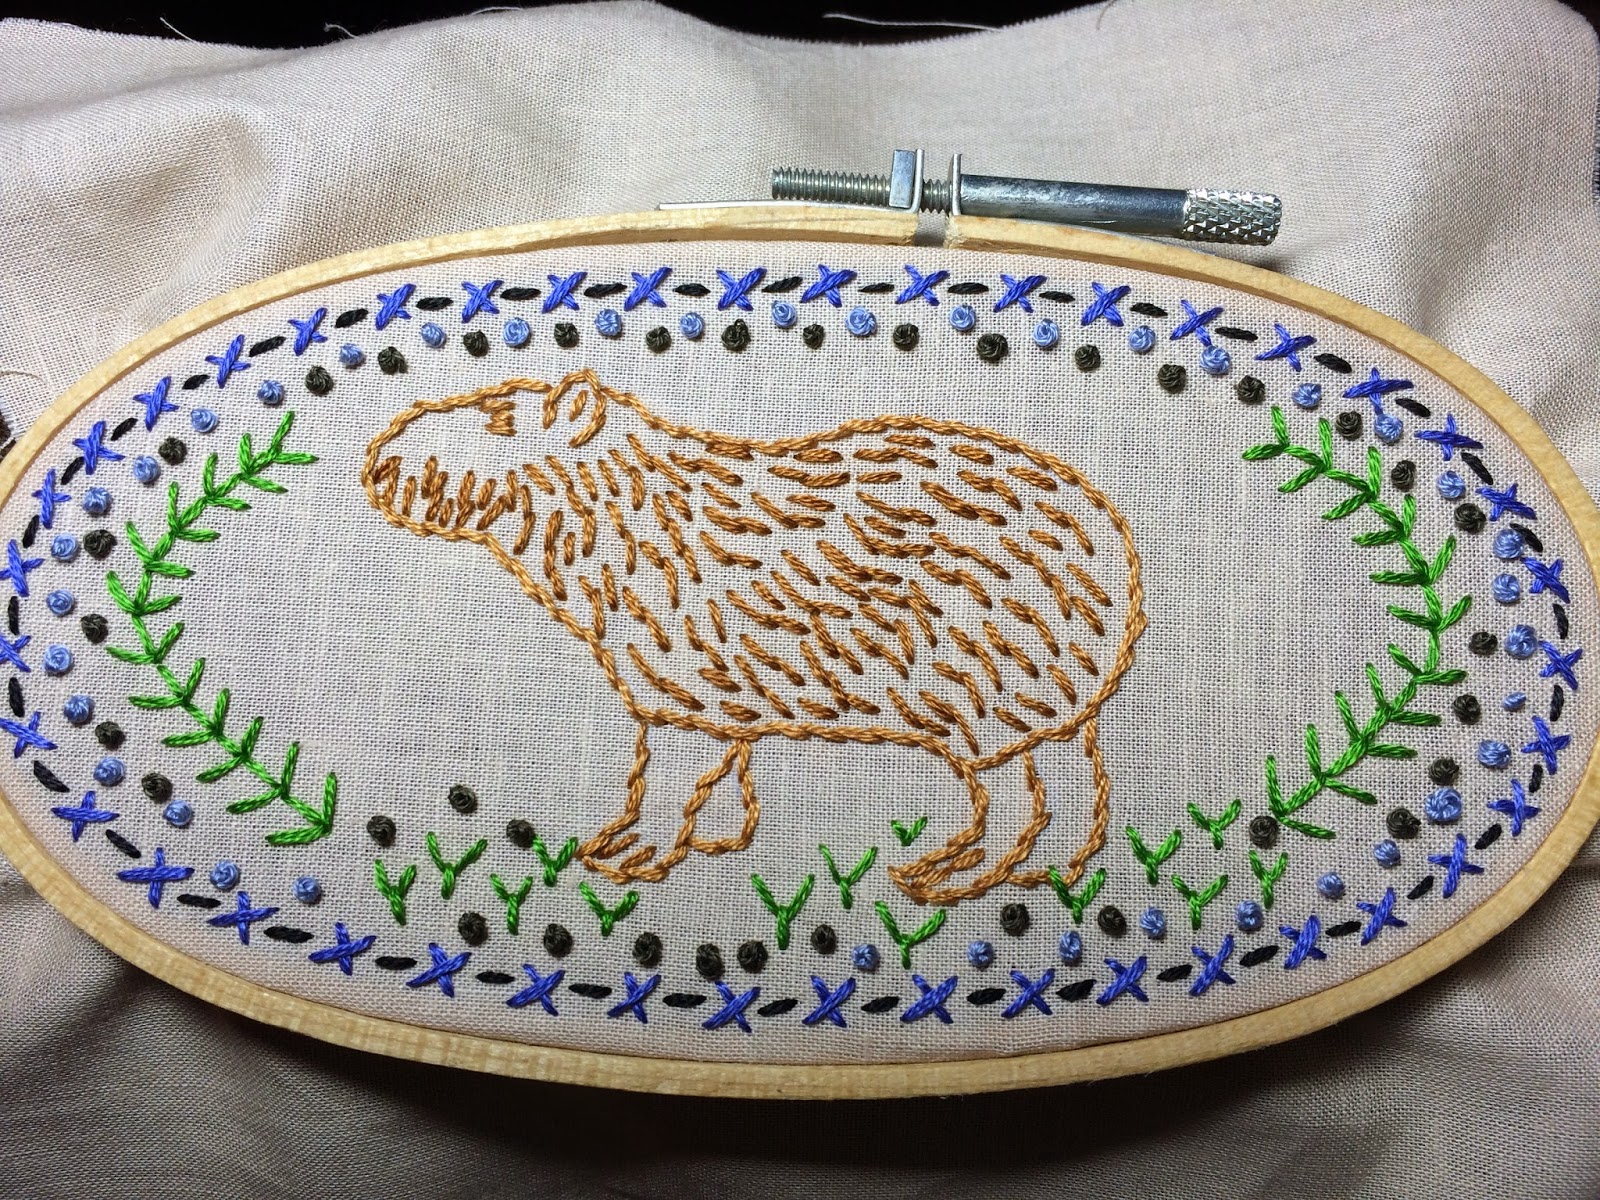
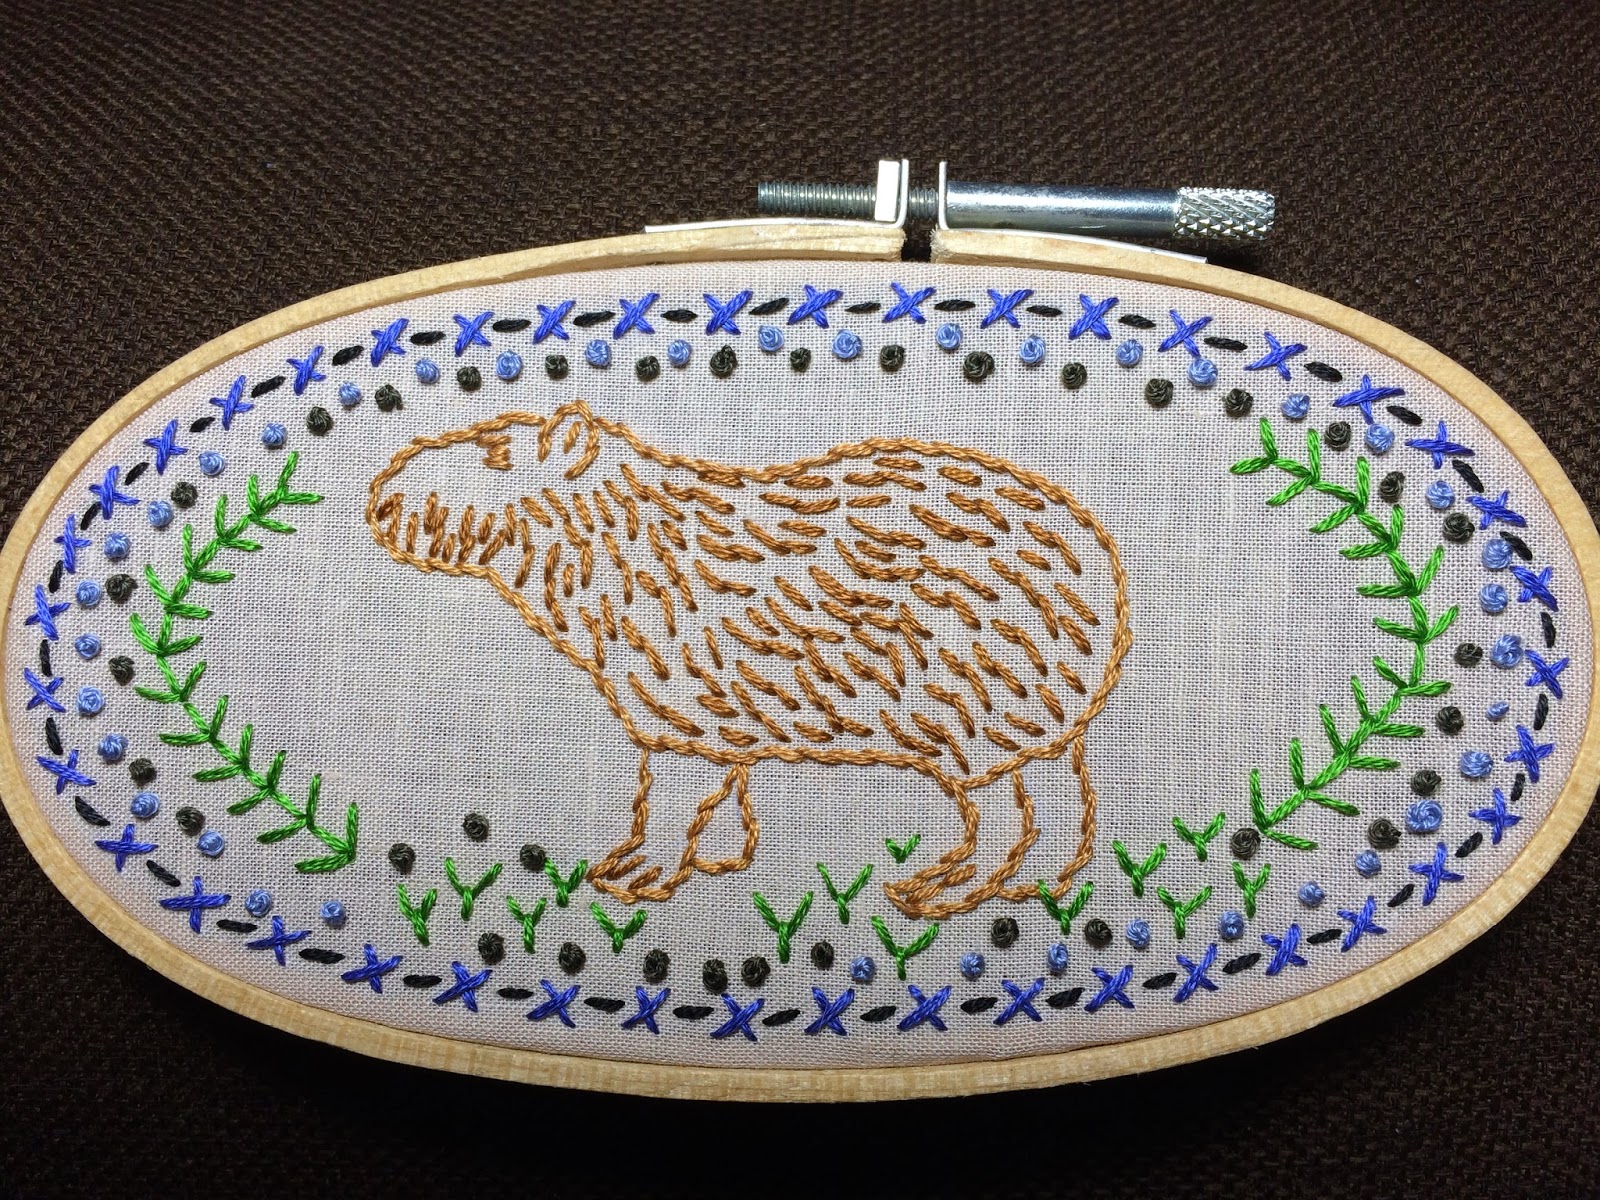
I was assigned to stitch something for the lovely Noodle. She gave me some ideas and I decided to attempt to stitch her a little Capybara. I based my design off the Capybara on this Uruguay coin.


capybara embroidery

Capybara embroidery

I finished the back using this technique here.

Capybara embroidery


I was also sooo excited to receive my swap piece by the fabulous Keeley of stitchandcolor.

Check out this awesome kappa she stitched for me! I love it and its amazing stitching!

(Photo courtesy of stitchandcolor flickr photostream)


28 May 2013

Blinded by Science Embroidery Swap

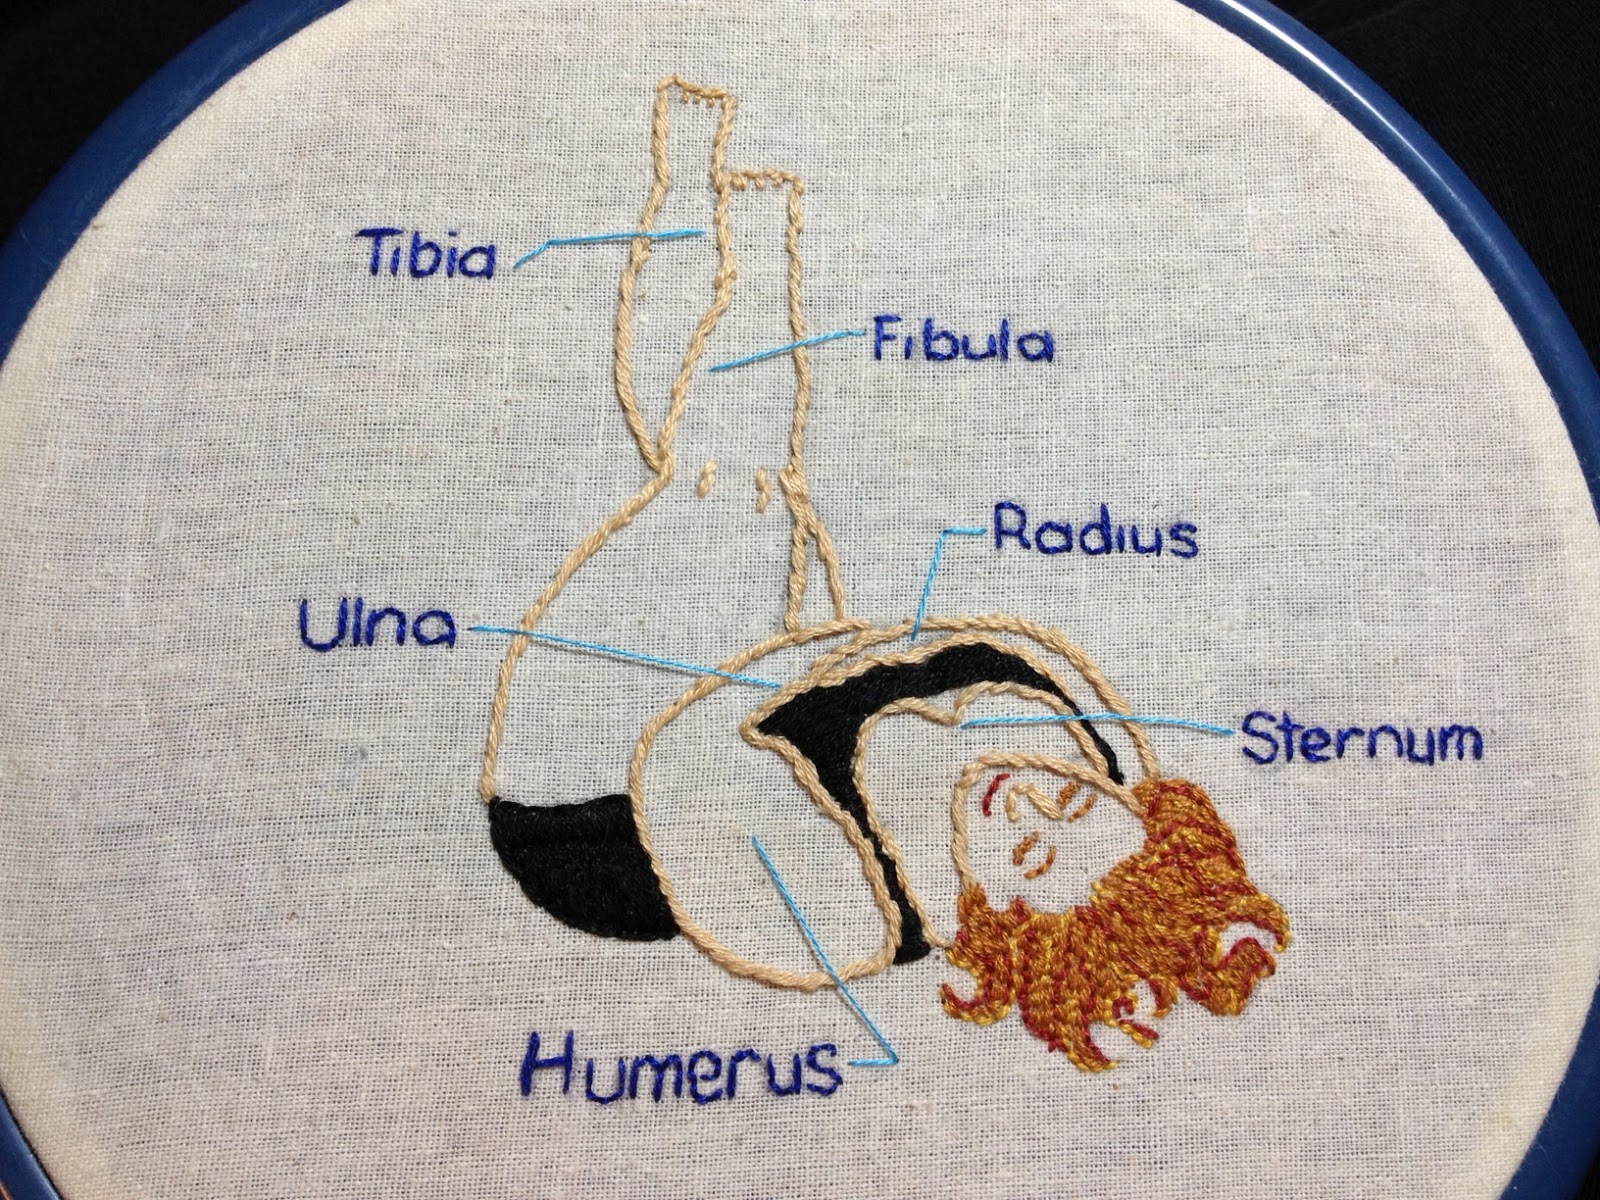
I am so excited to receive my swap piece for the Phat Quarter's Blinded by Science embroidery swap from Wallflower Arts.


I absolutely love it! She did such a great job. Her idea of a pinup inspired anatomical drawing is just awesome.


This swap was so fun. I will definitely participate in future swaps.

If you want to check out my embroidery for the Blinded by Science swap, check out my previous post here.


20 May 2013

Something Old - Redwork Ladies

Another one of my older embroidery projects in my Flickr photos.  


I can't remember where I found the patterns on the internet but I loved their pinup look. 


I framed them in little frames I found at a garage sale.

work in progress shot


08 May 2013

How to: Finish Back of Embroidery Hoop

Here is how I finished my little sheep embroidery.

I found a hoop just the right size.
Front View

Back View

Trim the fabric around the hoop.


Next, start to glue the fabric to the inside edge of the hoop.


Apply the glue to the inside edge and fold over the fabric...


Continue to glue the fabric around the whole hoop...


Let it dry!

Then, you will need something to cover the back. You could use cardboard or any type of paper. I always use brown paper bags. I like the look of the brown paper.

Trace your hoop and cut your circle.


Next, put some glue around the edge so you can attach the paper circle to the back of the hoop...


Place the paper circle on the hoop and lay it down with some pressure to hold it in place and allow to dry. I used a couple pairs of scissors. 


Finished!

Back side

Front Side

** UPDATE: If you have made it this far, I thought I would update this post and let you know I now prefer to finish the back of my hoops using this excellent tutorial