Showing posts with label how to. Show all posts

30 July 2014

Little Tree Drawing Mini Embroidery

My nine year old niece drew me a cute little tree and I wanted to embroider it.

I thought it would be fun to take her drawing, stitch it, frame it, and give it to her as a little gift.

Here is a photo of the original drawing.


Here it is transferred onto the fabric ready to stitch.


I used all stem stitch, since it's my favorite.


A long time ago I bought these little canvases with frames at a craft store which I thought would be perfect to finish the tree.


I stapled the fabric to the canvas (which I have written about previously here – it is my favorite way to finish my embroidery now).


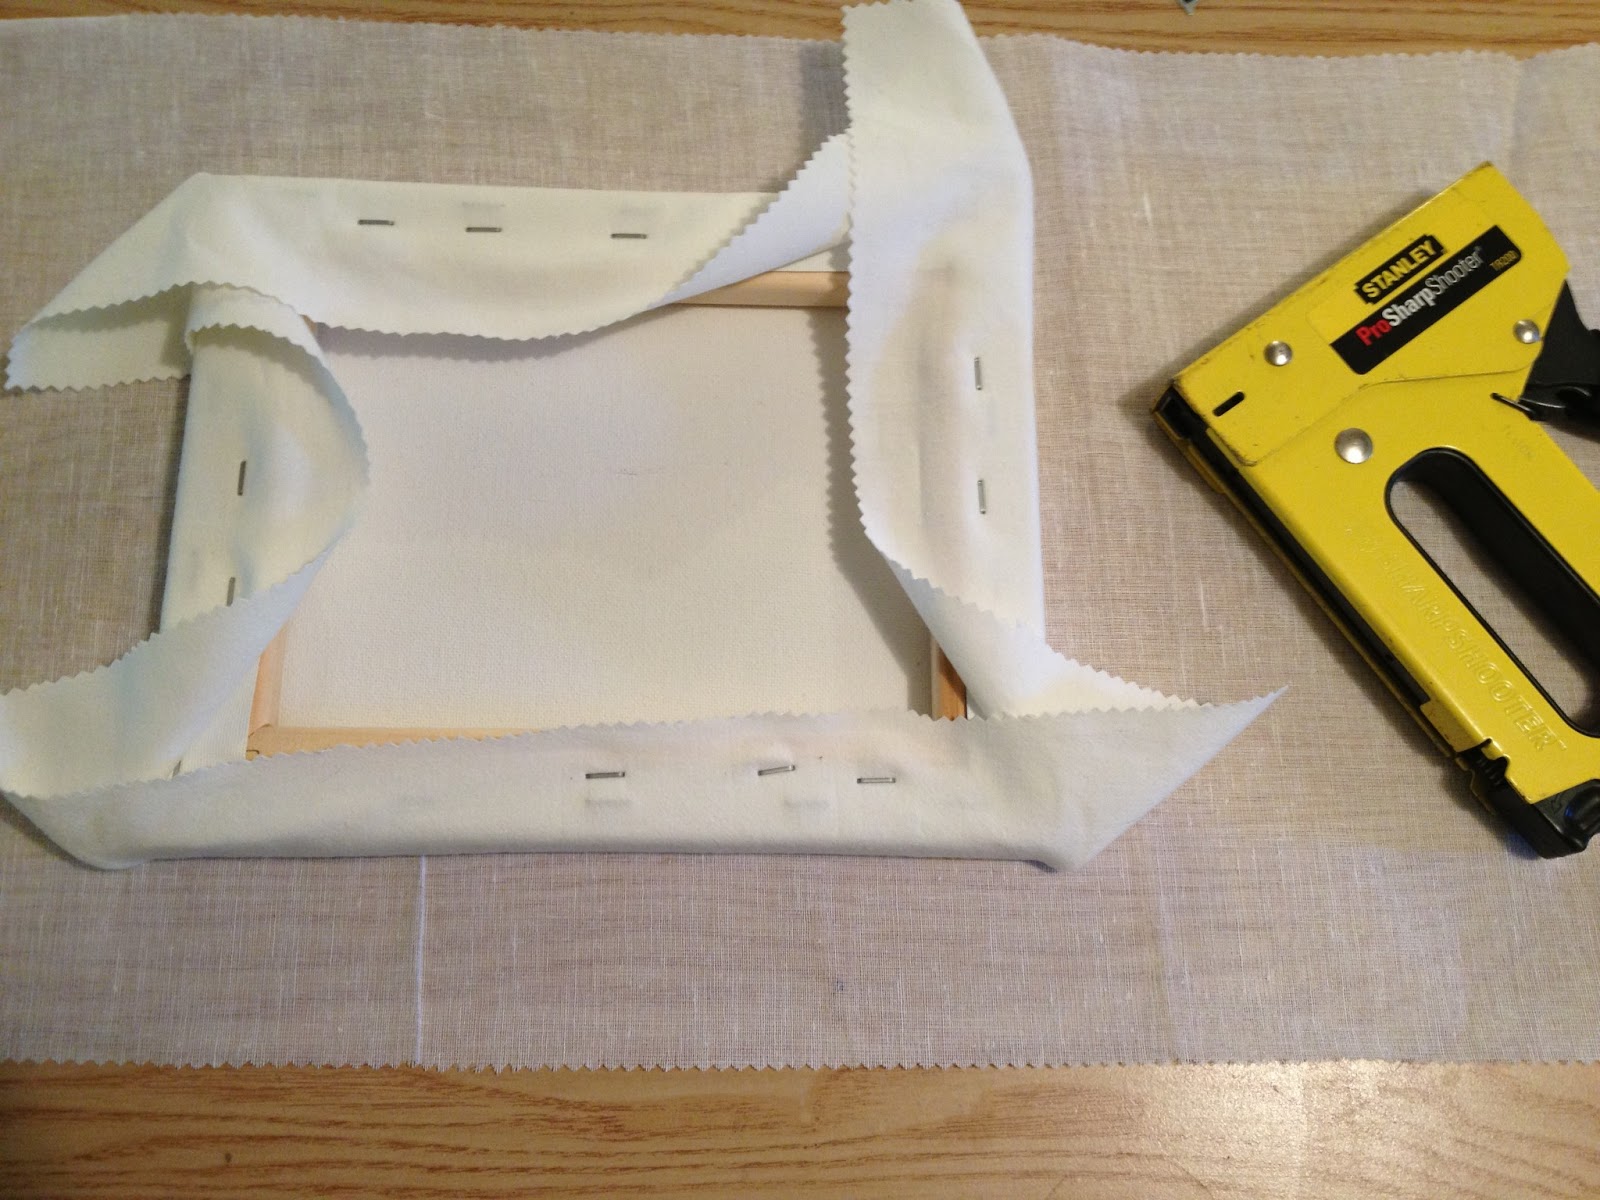
Staple around all edges - pulling the fabric tight around the canvas.


Staple the corners - similiar to wrapping a present and staple.


All stapled!


Here it is all finished inside the frame and ready to send in the mail!


02 July 2013

Matchbook Needlebook

I wanted to make myself a needle case but didn't really have an idea of how I should make it.

Then I found the perfect cute idea on Pinterest.

A matchbook needle case!!!


I wasn't going to bother with a detailed post on how to make it, because the original post on 
Make It Do did a WAY awesome job with a photo tutorial. Check it out here!

It is super easy to make. I picked up some felt and one piece of scrap book paper from the craft store.
Followed the directions with a little measuring...


..... and ended up making a bunch of these cute little needle matchbooks!


Now I can take my needles anywhere!


08 May 2013

How to: Finish Back of Embroidery Hoop

Here is how I finished my little sheep embroidery.

I found a hoop just the right size.
Front View

Back View

Trim the fabric around the hoop.


Next, start to glue the fabric to the inside edge of the hoop.


Apply the glue to the inside edge and fold over the fabric...


Continue to glue the fabric around the whole hoop...


Let it dry!

Then, you will need something to cover the back. You could use cardboard or any type of paper. I always use brown paper bags. I like the look of the brown paper.

Trace your hoop and cut your circle.


Next, put some glue around the edge so you can attach the paper circle to the back of the hoop...


Place the paper circle on the hoop and lay it down with some pressure to hold it in place and allow to dry. I used a couple pairs of scissors. 


Finished!

Back side

Front Side

** UPDATE: If you have made it this far, I thought I would update this post and let you know I now prefer to finish the back of my hoops using this excellent tutorial


29 April 2013

How to: Mounting Embroidery on Canvas

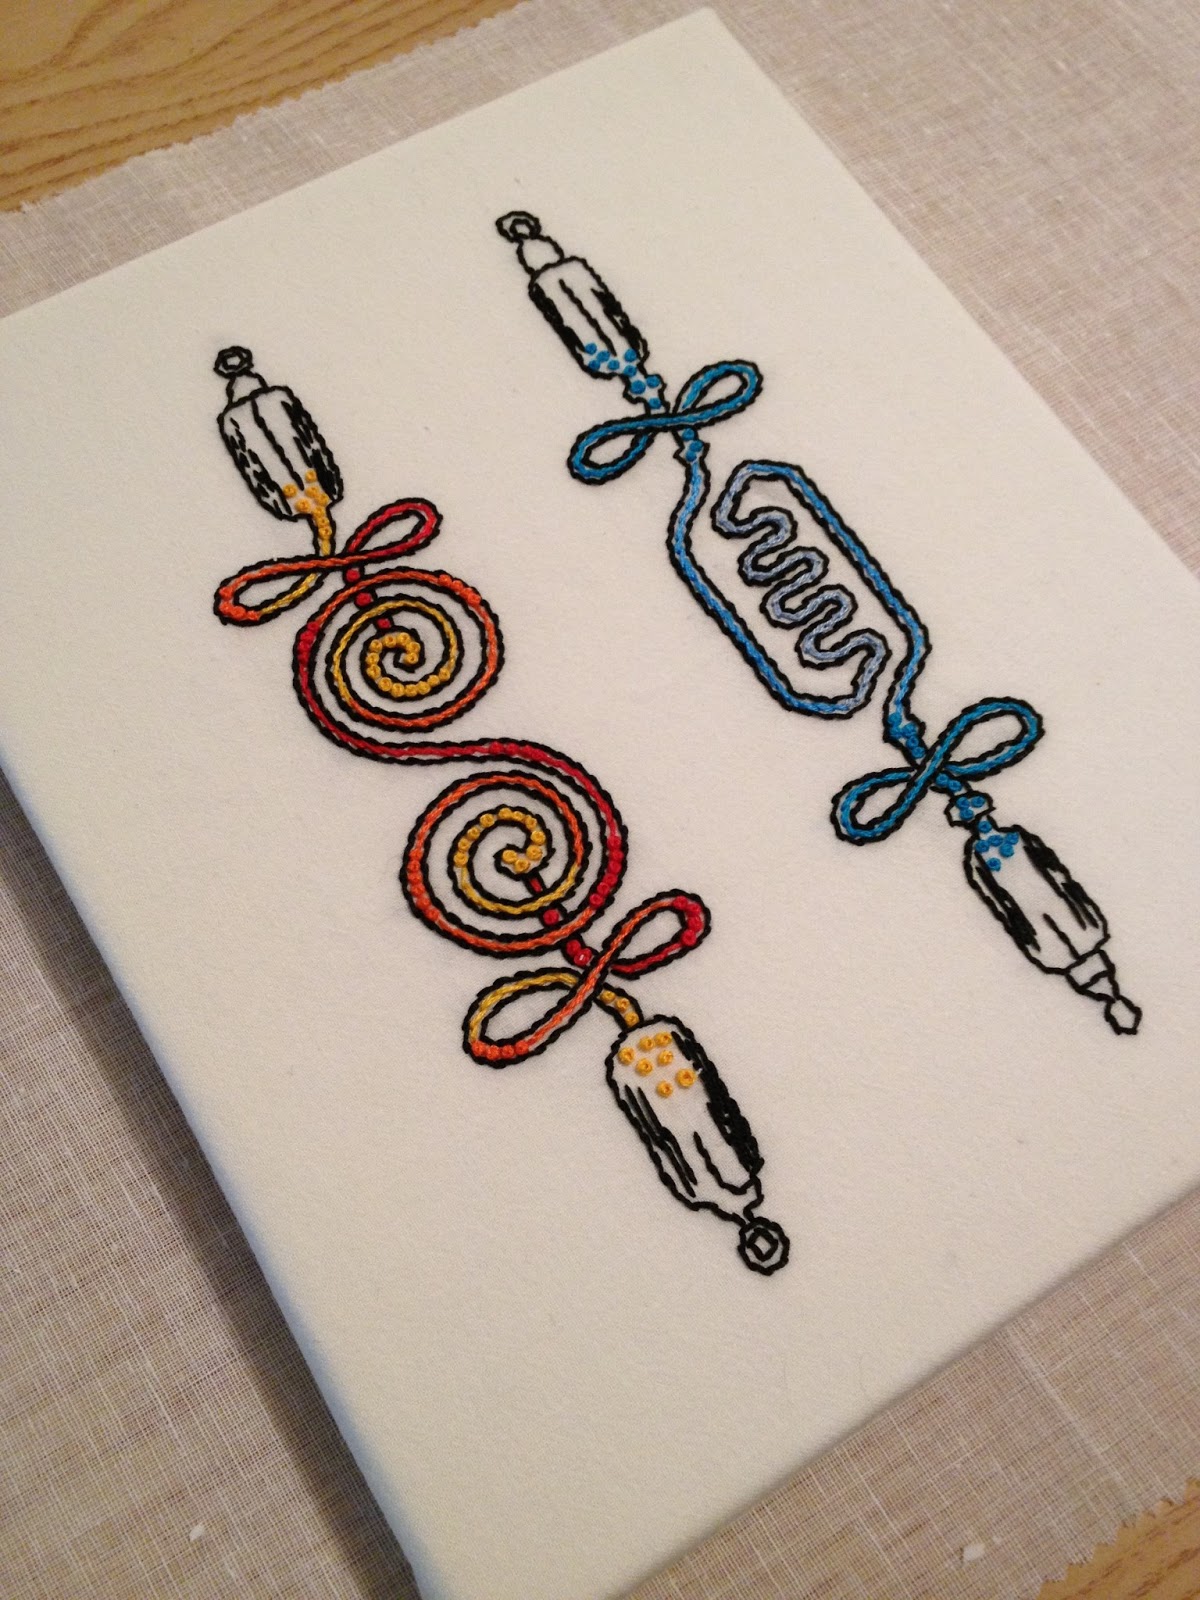
For my Phat Quarter - Blinded by Science swap embroidery, I finished it by stretching it or mounting it on a canvas. I had never done it before so thought I would give it a try. It  was really easy and I think it might be my new favorite way to display embroidery.

What you need:
1. Staple gun
2. any size canvas  


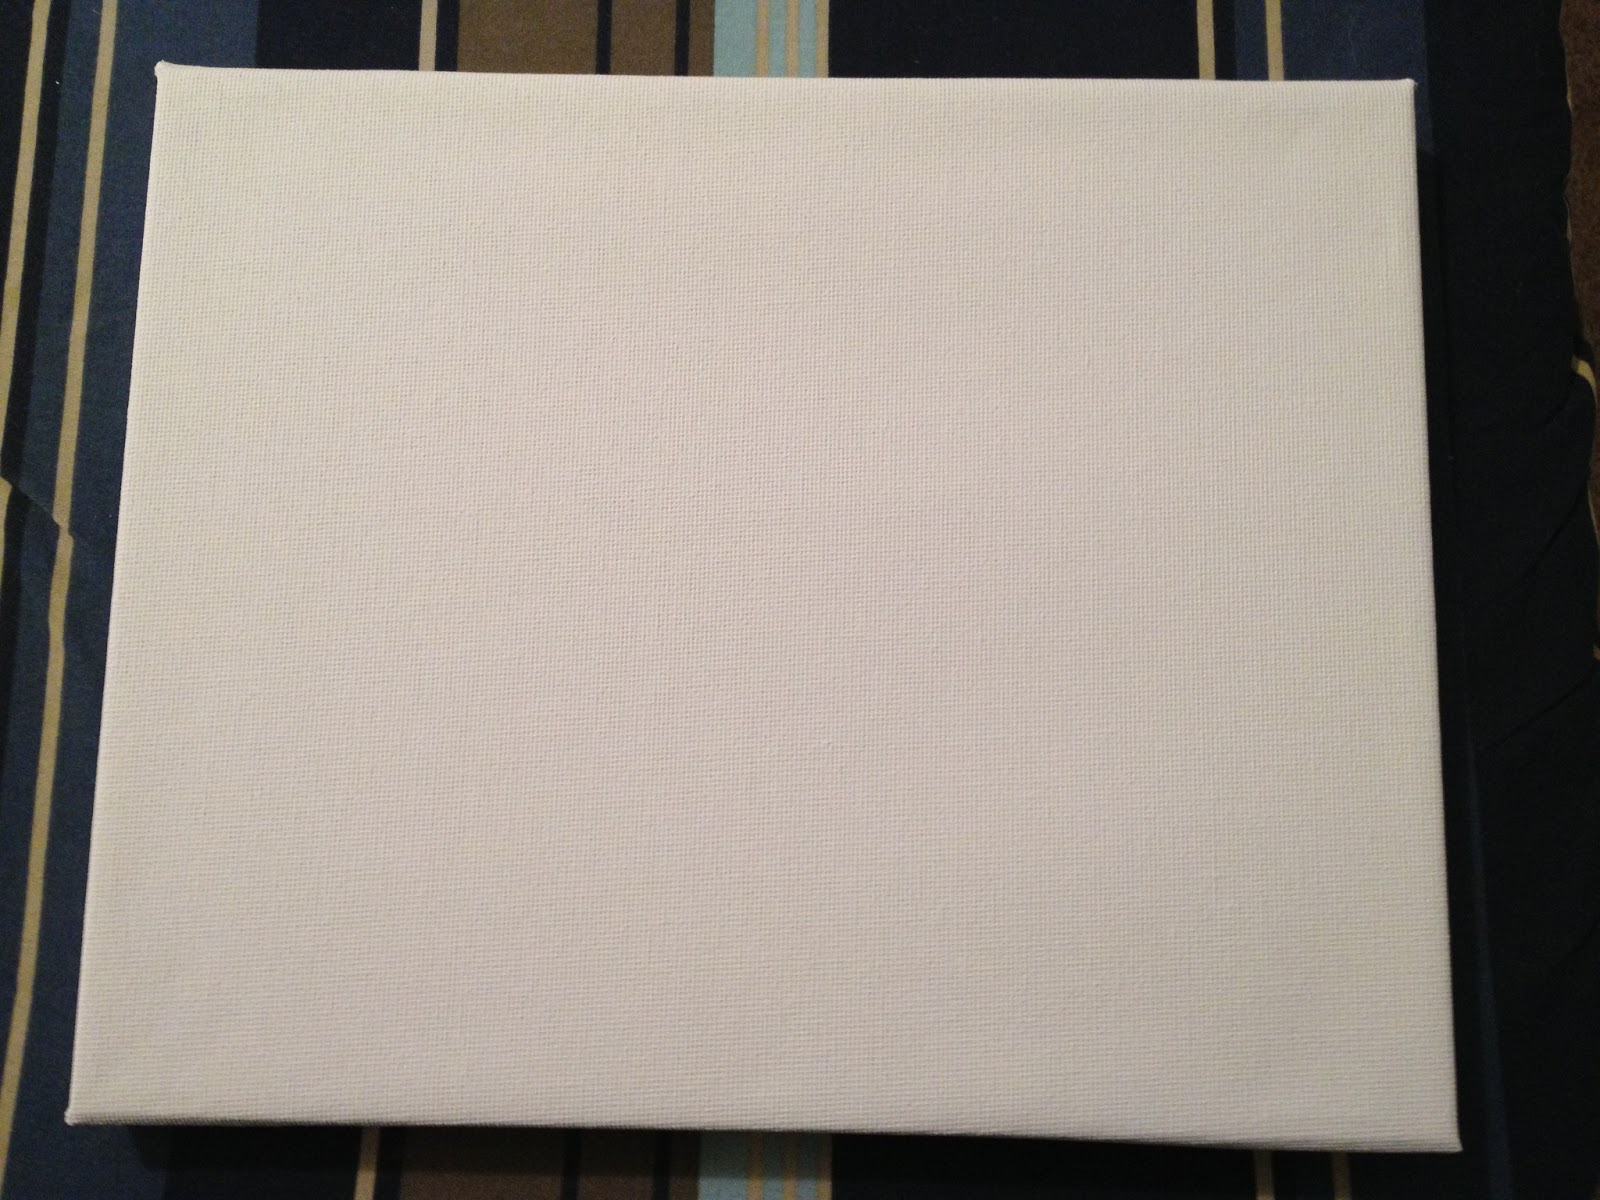
Blank 8x10 canvas


I first  laid my embroidery on top of the canvas and did my best to center it.

Then flip it over and staple the center of each side, pulling the fabric tight.


embroidery tutorial


Work your way around the canvas stapling towards the corners.

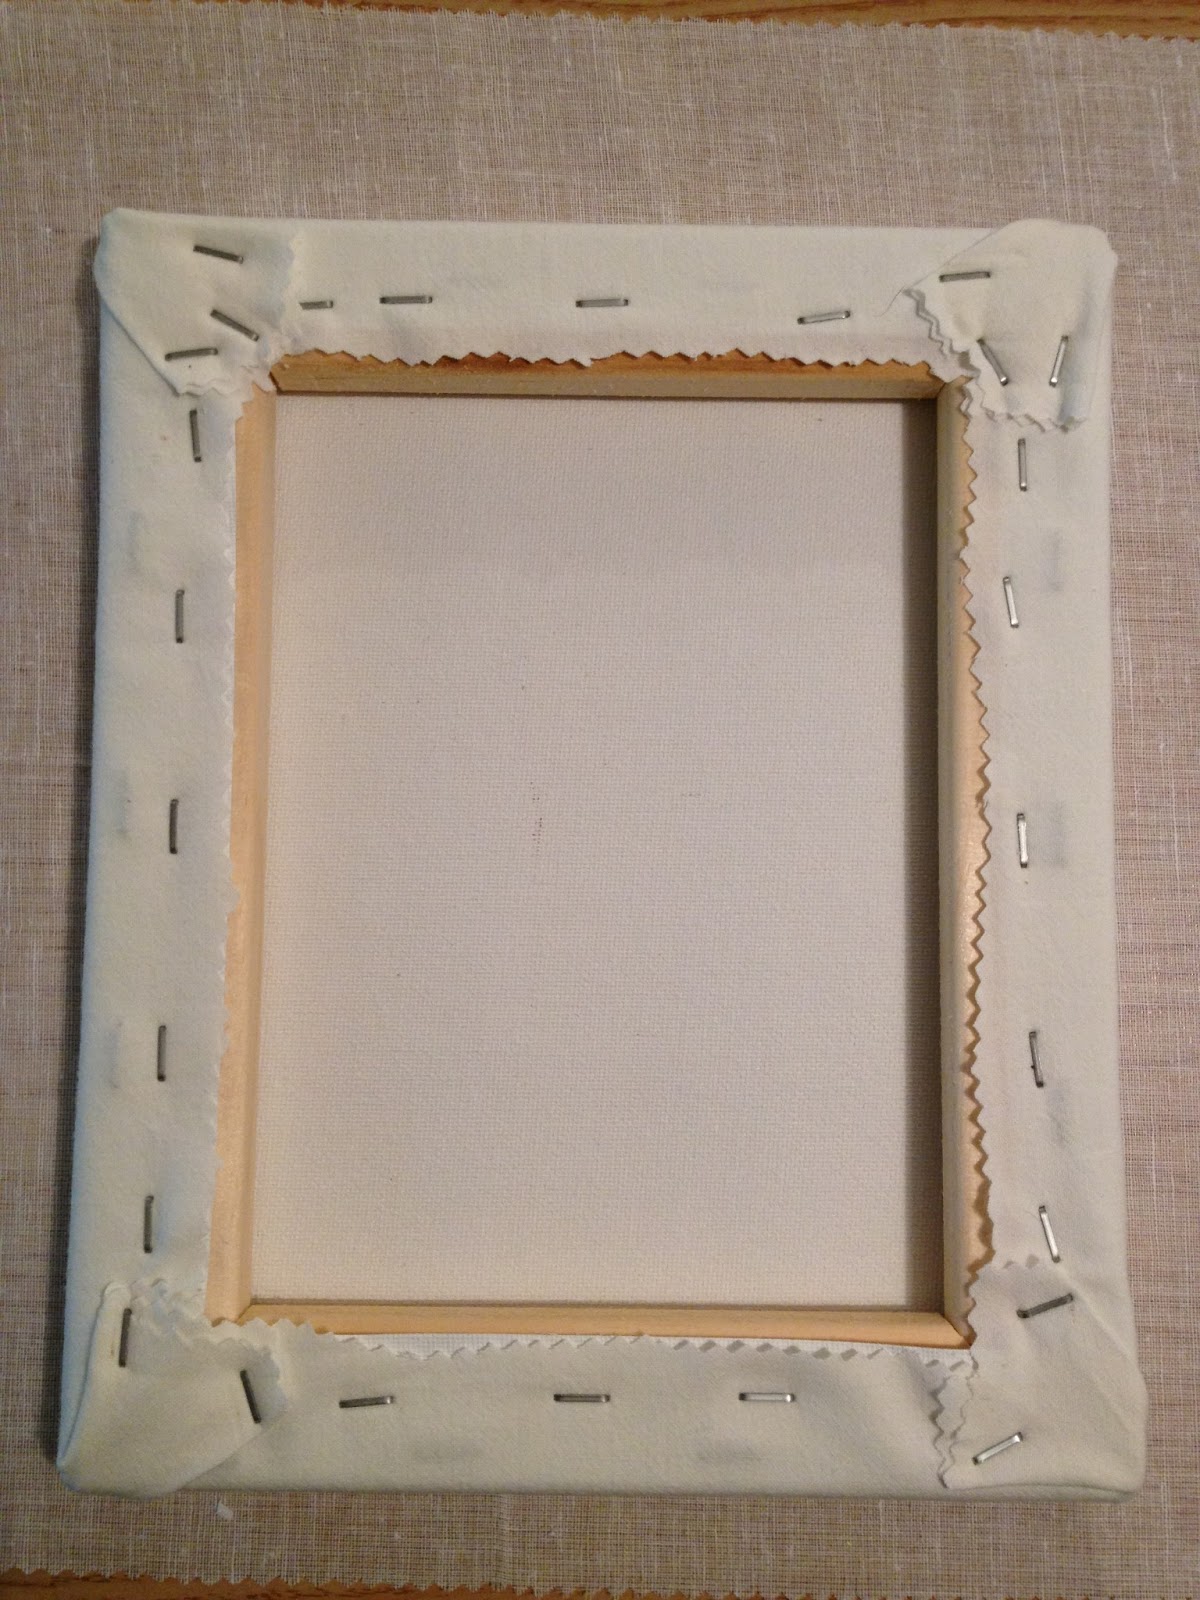
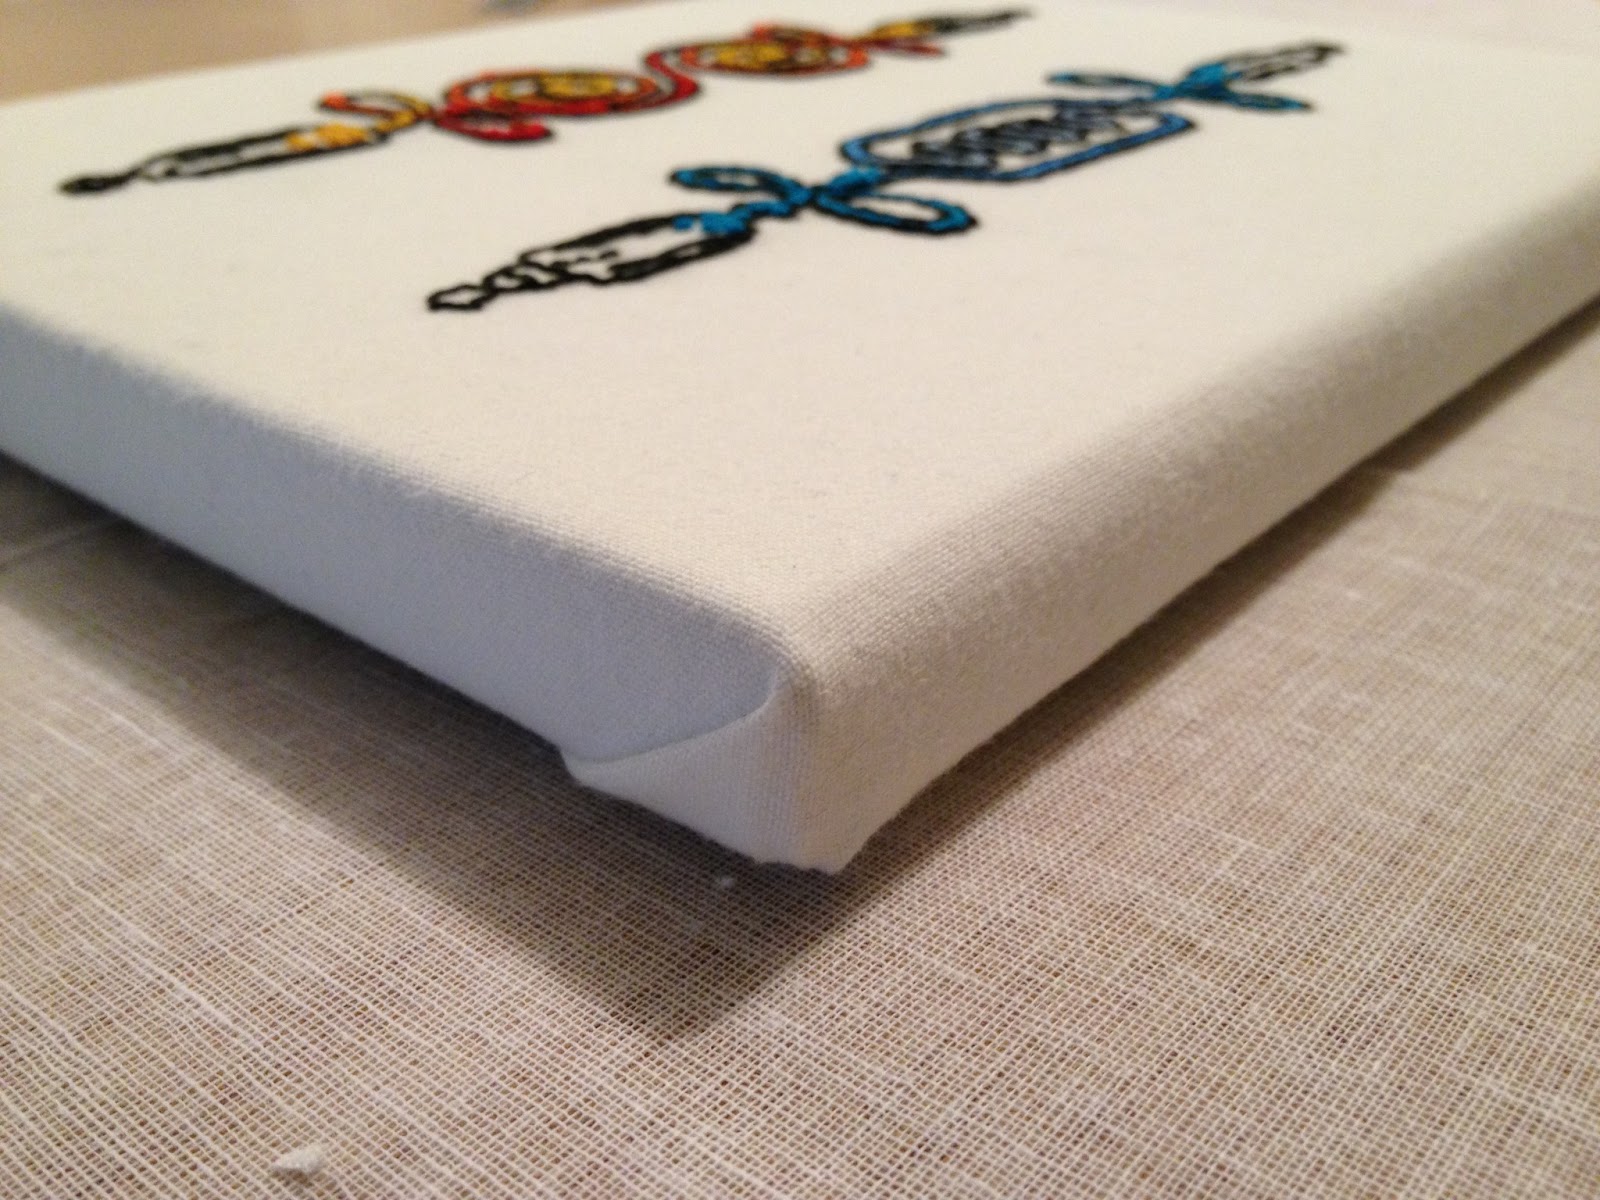
To do the corners, I wrapped the each corner like wrapping a present and stapled it down. It is a little bulky in the back, but not as bad as I thought it would be. I am sure the more I do it the better I will get.

embroidery finishing technique
Back side finished 


Up close view of the wrapped corner


Finished!


Add caption